用过ArgoCD已经有一段时间了,准备写一些使用的心得算是工作的日常记录吧。
什么是ArgoCD?
简单的说它是专门为部署在kubernetes上的应用进行持续交付的工具。
它已经从CNCF毕业了,作为云原生持续交付工具相较于传统的部署工具有着天生和kubernetes结合的优势。
为什么要使用ArgoCD?
- 自动化部署:ArgoCD可以自动化部署应用,减少人工干预,提高部署效率。
- 持续交付:ArgoCD支持持续交付,可以自动检测代码变更并进行部署,确保应用的稳定性和可靠性。
- 高可用性:ArgoCD支持高可用性,可以确保在集群故障时,应用仍然可以正常运行。
- 安全性:ArgoCD支持多种安全策略,可以确保应用的安全性。
- 易用性:ArgoCD界面友好,易于上手,适合各种规模的团队使用。
- 可扩展性:ArgoCD可以扩展到多个集群,支持多租户,满足大规模应用的部署需求。
- 多集群支持:ArgoCD支持多集群发布,可以轻松地在不同集群中进行应用的部署和管理。
- DaC(Deployment as Code):所有的应用的部署配置都是声明式的,可以进行统一的版本管理和审计。
安装ArgoCD
我一般都是用helm来安装ArgoCD,实际上官方是推荐使用kustomize来安装的。kustomize可以参考这里installed by kustomize
使用Helm安装ArgoCD
-
下载ArgoCD的Helm Chart
helm repo add argo https://argoproj.github.io/argo-helm helm repo update helm pull argo/argo-cd tar -zxvf argo-cd-x.x.x.tgz -
设置高可用模式
在values.yaml文件中设置高可用模式。
redis-ha: enabled: true controller: replicas: 1 server: autoscaling: enabled: true minReplicas: 2 repoServer: autoscaling: enabled: true minReplicas: 2 applicationSet: replicas: 2 -
Ingress配置
- SSL-Passthrough
global: domain: argocd.example.com certificate: enabled: true server: ingress: enabled: true ingressClassName: nginx annotations: nginx.ingress.kubernetes.io/force-ssl-redirect: "true" nginx.ingress.kubernetes.io/ssl-passthrough: "true" tls: true- SSL Termination at Ingress Controller
global: domain: argocd.example.com configs: params: server.insecure: true server: ingress: enabled: true ingressClassName: nginx annotations: nginx.ingress.kubernetes.io/force-ssl-redirect: "true" nginx.ingress.kubernetes.io/backend-protocol: "HTTP" extraTls: - hosts: - argocd.example.com # Based on the ingress controller used secret might be optional secretName: wildcard-tls- Multiple ingress resources for gRPC protocol support
global: domain: argocd.example.com configs: params: server.insecure: true server: ingress: enabled: true ingressClassName: contour-internal extraTls: - hosts: - argocd.example.com secretName: wildcard-tls ingressGrpc: enabled: true ingressClassName: contour-internal extraTls: - hosts: - grpc.argocd.example.com secretName: wildcard-tls- AWS Application Load Balancer
global: domain: argocd.example.com configs: params: server.insecure: true server: ingress: enabled: true controller: aws ingressClassName: alb annotations: alb.ingress.kubernetes.io/scheme: internal alb.ingress.kubernetes.io/target-type: ip alb.ingress.kubernetes.io/backend-protocol: HTTP alb.ingress.kubernetes.io/listen-ports: '[{"HTTP":80}, {"HTTPS":443}]' alb.ingress.kubernetes.io/ssl-redirect: '443' aws: serviceType: ClusterIP # <- Used with target-type: ip backendProtocolVersion: GRPC- GKE Application Load Balancer
global: domain: argocd.example.com configs: params: server.insecure: true server: service: annotations: cloud.google.com/neg: '{"ingress": true}' cloud.google.com/backend-config: '{"ports": {"http":"argocd-server"}}' ingress: enabled: true controller: gke gke: backendConfig: healthCheck: checkIntervalSec: 30 timeoutSec: 5 healthyThreshold: 1 unhealthyThreshold: 2 type: HTTP requestPath: /healthz port: 8080 frontendConfig: redirectToHttps: enabled: true managedCertificate: enabled: true -
安装ArgoCD
# 默认安装到default命名空间 helm install argocd ./argo-cd # 自定义命名空间 helm install --set namespaceOverride=my-namespace argocd ./argo-cd --namespace my-namespace --create-namespace -
验证安装
执行完helm install命令后,如果按照正常,你会看到一段ArgoCD的安装日志,类似于:
In order to access the server UI you have the following options:

1. kubectl port-forward service/argocd-server -n argocd 8080:8080

    and then open the browser on http://localhost:8080 and accept the certificate

2. enable ingress in the values file `server.ingress.enabled` and either
      - Add the annotation for ssl passthrough: https://argo-cd.readthedocs.io/en/stable/operator-manual/ingress/#option-1-ssl-passthrough
      - Set the `configs.params."server.insecure"` in the values file and terminate SSL at your ingress: https://argo-cd.readthedocs.io/en/stable/operator-manual/ingress/#option-2-multiple-ingress-objects-and-hosts


After reaching the UI the first time you can login with username: admin and the random password generated during the installation. You can find the password by running:

kubectl -n argocd get secret argocd-initial-admin-secret -o jsonpath="{.data.password}" | base64 -d

(You should delete the initial secret afterwards as suggested by the Getting Started Guide: https://argo-cd.readthedocs.io/en/stable/getting_started/#4-login-using-the-cli)
After reaching the UI the first time you cannot login with username and password since you've disabled it. You should enable admin back or configure Dex via `configs.cm.dex.config` or OIDC via `configs.cm.oidc.config`.
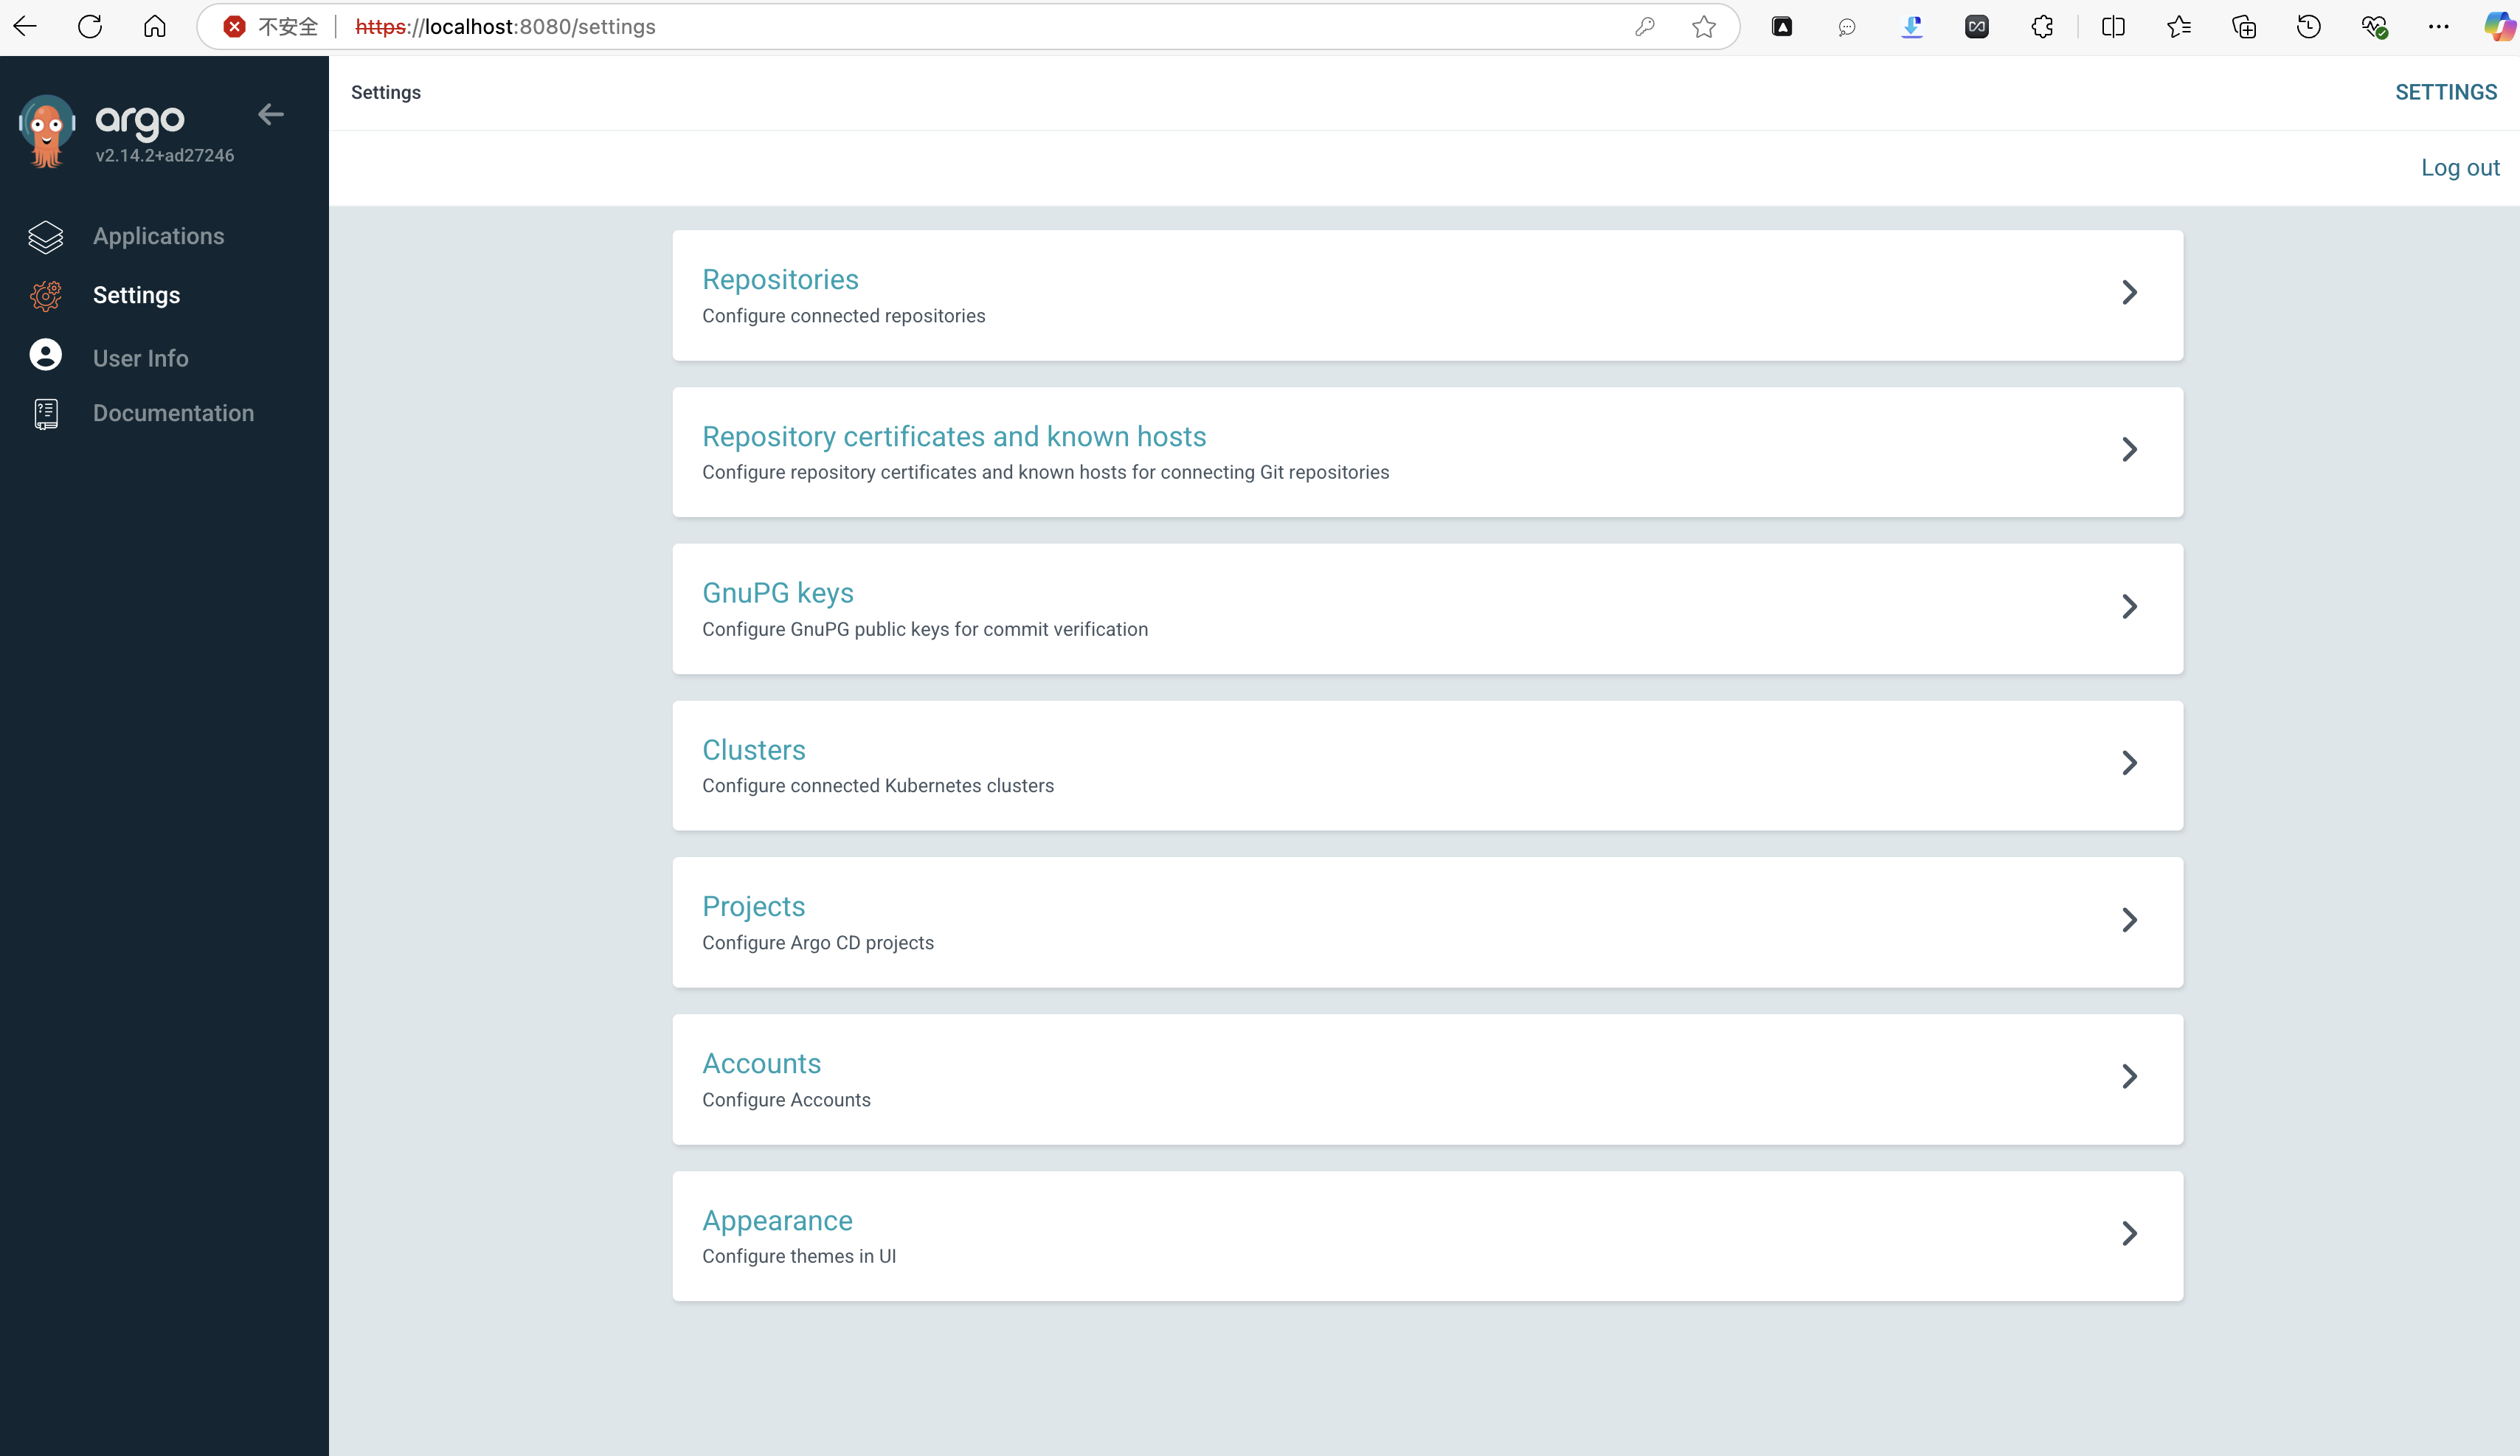
根据提示先设置端口转发然后打开网页就能看到下面内容

使用上面提示的命令获取密码并登录即可。